
Module 6 - Fitting the dashboard
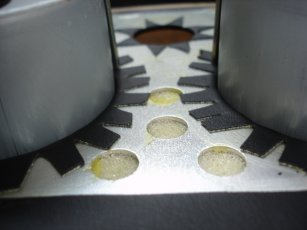
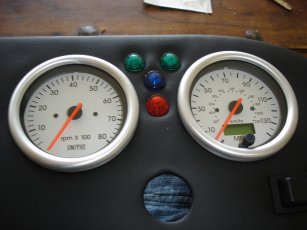
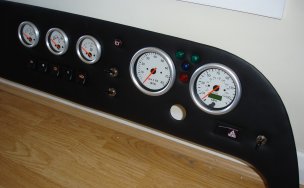
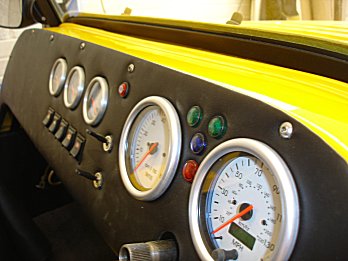
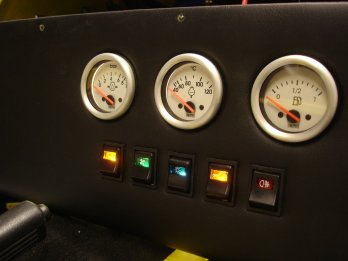
<24th November 2005>Started work on getting the Dashboard set up today, first thing to do was get the dash and the dials out and take a look at the fitting. The dials simply slot into the pre-cut holes. As shown below.
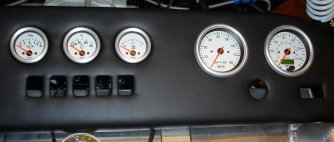
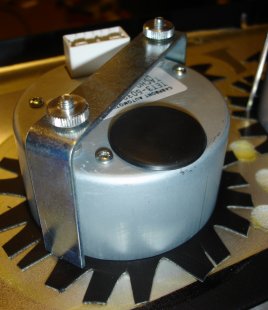
Then there are metal brackets with two right angle bends in forming a U-shape. On the middle edge of these are holes for the theaded bolt ends from the back of the dials to fit through. As you can see below, bolts then fit on these which, when tightened pull the dial back to lock them in place.
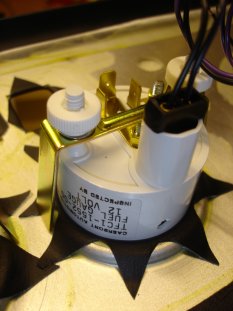
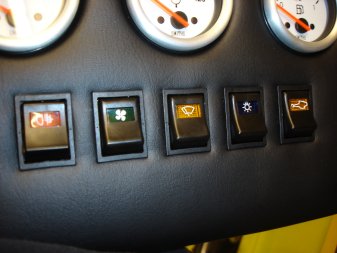
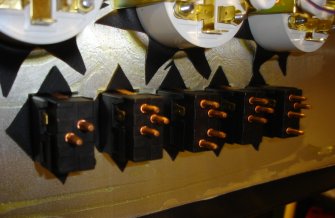
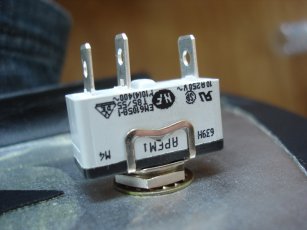
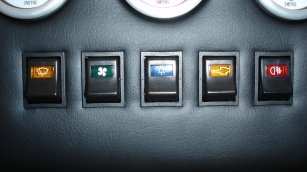
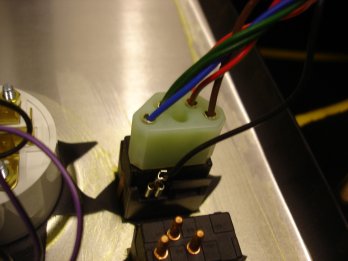
The Switches are similar in that they just push into the dash panel. As you can see below they have connections at the back to connect the loom to.
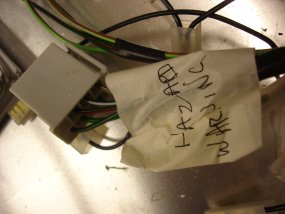
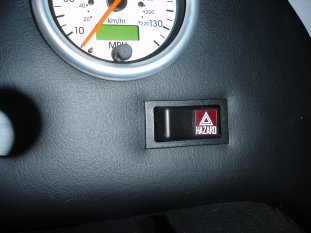
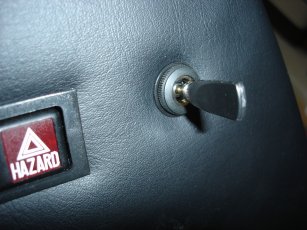
The Hazard warning light switch was originally connected as part of the wiring loom. To make this easier i wrapped the cables connected to it in masking tape labelled Hazard warning and then removed the switch. This could then be pushed into place on the dash.
<10th December 2005>
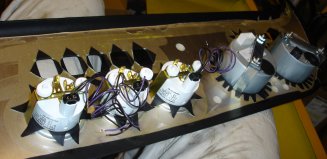
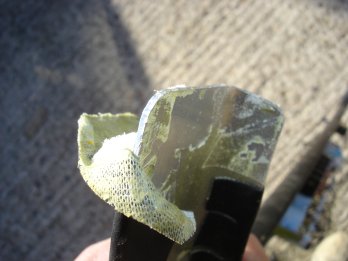
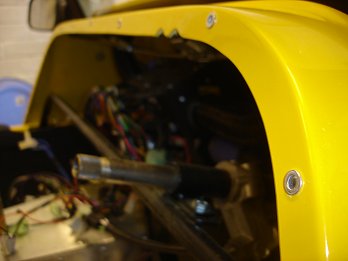
To get the indicator and warning lights into the Dashboard there are precut holes in the panel but not in the cover. So i got myself a decent craft knife and planned to cut a cross in the cover and then fold them in.
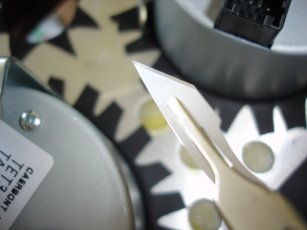
Unfortunately, with the cover folded in the hole is too small to get the light through. So i had to change tact and actually cut a hole out of the fabric and remove it completely. As you can see below.
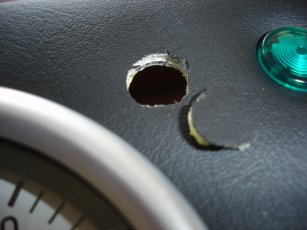
This was a straight forward process though and in no time i had transformed the panel to an almost festive collection of light indicators!
Next was the toggle style switches for the indicators, horn, and main/dip beam. These worked in a similar way where i had to cut out a hole in the cover for them to got through. However on these there is a locking nut and washer that goes behind the dashboard and then a black plastic washer on the front followed by a choice of either black plastic or shiny metal nuts (the pic below shows the indicator switch using the black plastic nut on the front).
Then i used the shiny metal nut for the horn and main/dip beam so i could compare.
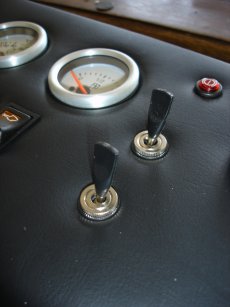
I decided i prefered the shiny ones and so swapped the indicator toggle over. This is the finished article.
<11th December 2005>
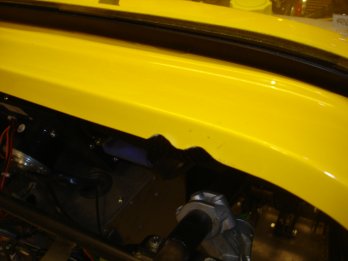
Received an e-mail from a fellow builder Peter this morning telling me that the fog light switch doesn't have a rounded edge like the other center console switches and so needs to be over to the right nearer the steering wheel for SVA purposes! So a two second job to swap them now could have been an SVA fail and real pain swapping everything over once the dash is in place and wired up! So thanks Peter! and a note to all other to ignore the manual as shown below.
<28th March 2006>
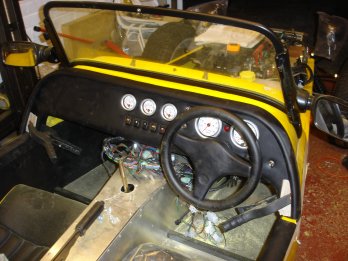
Trail Fitted Dash:
<1st April 2006>
Fitted Dash:
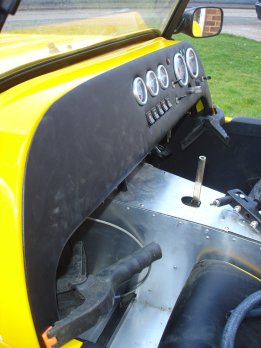
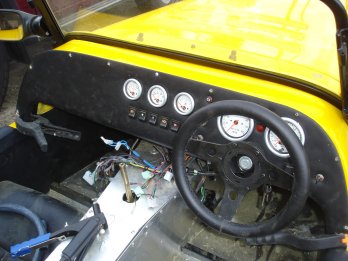

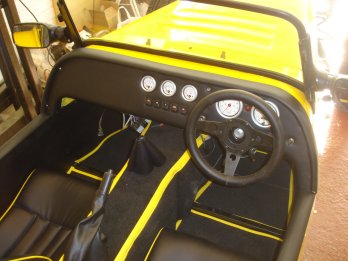
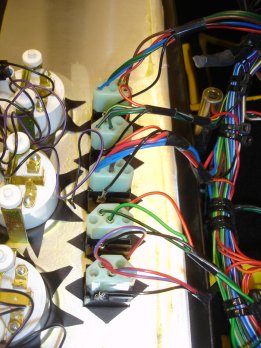
Wired Dash:

 Copyright ©2012
Kevin Baldwin
Copyright ©2012
Kevin Baldwin


