Module 3 - Sump
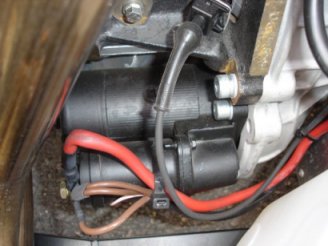
<27th September 2005>whilst stripping down the engine i noticed there is currently nowhere for the starter motor to be mounted due to the engine completely covering the clutch. Please see the pictures below:


So i sent a mail to Westfield to try and find out whether the sump needs to be ground down on that corner to allow the starter to be mounted. As you can see in the pic below this starter is mounted exactly where a large chunk of my sump is located.
Westfield have since got back to me explaining that as i have the newer zetec engine i will need to get a custom sump for it! This was an unexpected expense but one i was considering anyway for ground clearance issues.
I have mailed Scholar Engines about it after posting a question on the Westfield SportsCar Club forum and Scholar were recommended.
<6th October 2005>
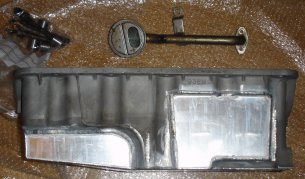
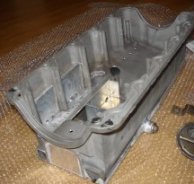
My shortened sump has arrived! It arrived very well packaged mid day today and all seems to be in place. As you can see from the photos below it is quite a bit shorter then the standard sump, but also doesn't come right out to the side. I won't get a chance to fit it for a few weeks as the engine is going to Westfield tomorrow but it's ready as soon as i get it back and this will give me time to order the ARP bolts for the con rod.
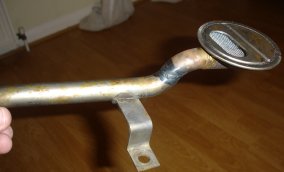
As you can see from the pic below the oil pickup pipe has also been modified and shortened. I beleive i will need to modify the windage tray to fit it in this new sump but i will cross that brige when i come to it.
<8th November 2005>
Whilst fitting my Scholar Sump to the engine,I took this series of photos showing the removal of the orginal 2 sumps (upper and lower) and the original plastic oil pickup pipe.

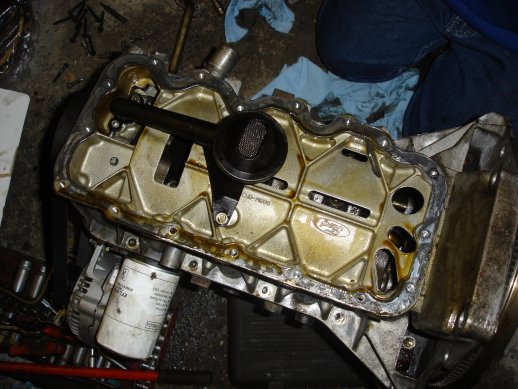
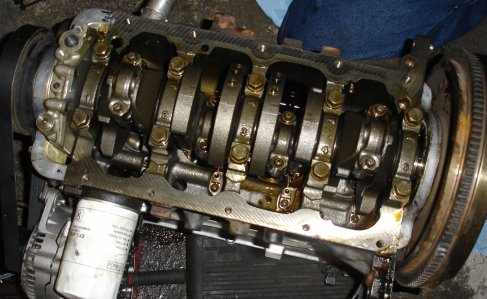
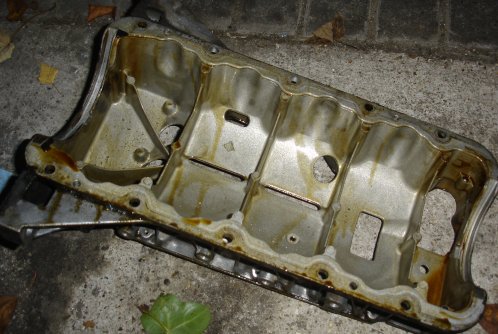
The following is now the new sump fitted and the gaps on opposite corners.
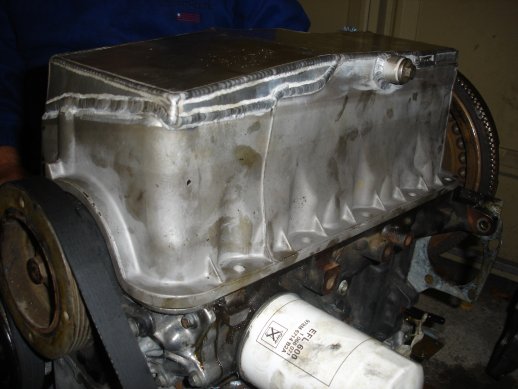
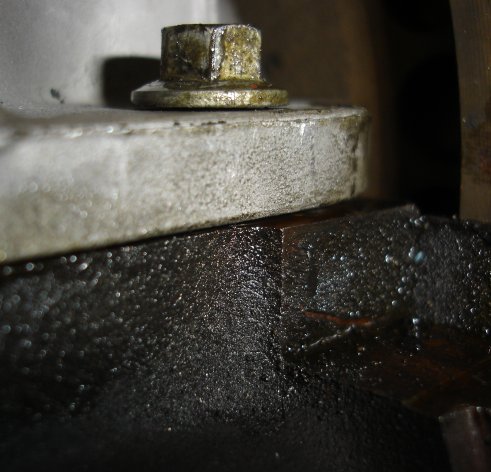
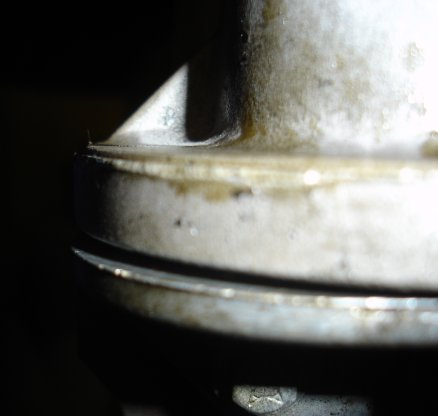
This will seal ok when the gasket is in and the bolts are torque tightened, according to Scholar
The above were taken without the oil pickup pipe. I was provided with a modifed pick up pipe for this sump which was a modified pickup from an earlier Zetec. The problem i have (and have tried to illustrate in the pics below) is that when the pipe is fitted to its appropriate brackets the pipe goes diagonally to the side so firstly, the sump doesn't fit on, and secondly, there is nowhere for the pipes lower mounting to bolt onto?
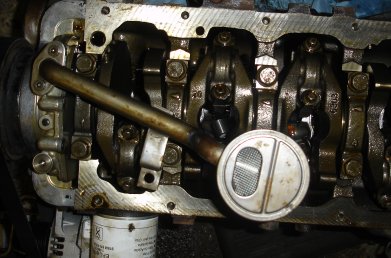
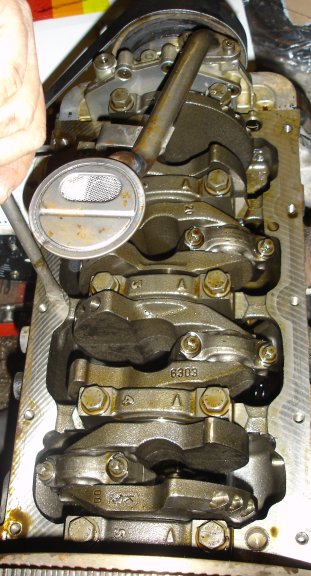
However if i only connect one bolt to the base of the pipe and center the pickup, it seems to line up with one of the big end bolts. Is this was the spacer bolts are for? If so then i have a problem connecting the base, as shown below?
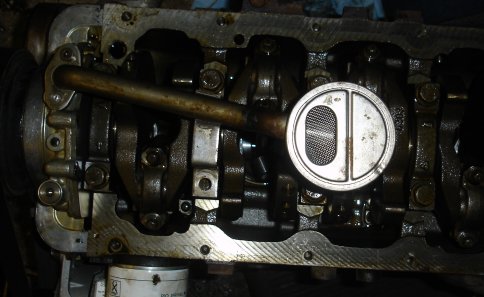
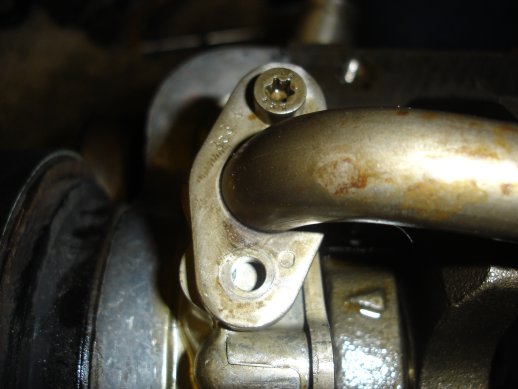
After speaking with Scholar that looked at the sump from a Black Top they had in the workshop and made a new modified pickup pipe to send to me. I recieved this the next day and it seems to be appropriately modified.
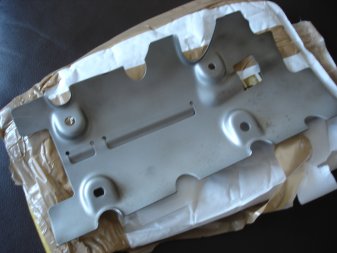
The next issues is that in my sump the windage tray was built into the upper sump and so i would need a new windage tray to suit that sump. After a quick call they agreed to get one in the post to me! So again great service from Scholar!
<19th November 2005>
The Windage tray has arrived! Just in time for the weekend as well. So i will drop this over to the mechanic this morning and hopefully he will finish off the sump which will allow him to get the engine back the right way up to work on the cams. The end is now in sight!
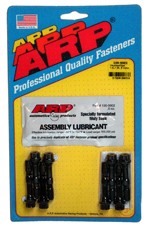
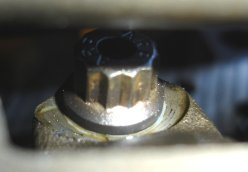
On taking the windage tray to the garage you can see below that the ARP bolts are now nicely fitted to the con rods. For anyone looking to fit ARP bolts i can save you the hassels i had, there are 2 different size ARP con rod bolts, 8mm marked up for the 1.6 ltr zetec, and 9mm marked for the 2ltr zetec. As i found out after the place i ordered them from sent me the 9mm ones these are for the American spec 2 ltrs, all the UK zetec 2ltr engines use the 8mm bolts part number 151-6003. So the 9mm ones are on route back to coord sport (very cheap for these bolts and offer a good service) and as you can see the 8mm ones are in the engine! These will allow the engine to rev higher without the risk of the standard bolts snapping.
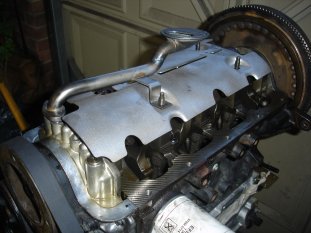
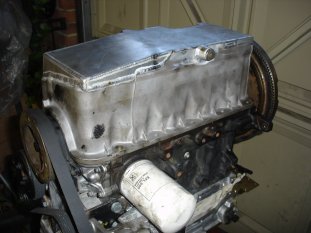
So once the tray was there is was just a case of sitting it on top of the crank and fitting the sump over the top! As you can see below, this is without any of the bolts in place but the sump fits!

 Copyright ©2012
Kevin Baldwin


