
Module 1 - Suspension
<25th August 2005>Suspension:
|
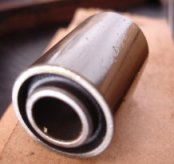
Started work on the suspension whilst waiting for my hands to recover from rivetting the transmittion side panels into place. It all looked fairly straight forward from the diagram but the step list in the manual seemed to just confuse me. The first thing i noticed (well took me a while to notice this) was that despite the build manual telling me the bushes would be pre-inserted into the wishbones, they actually weren't so i am going to have to put them in myself. This isn't a problem but seen as you have to be very careful and slow when doing this and there are 19 of them, it may take some time!
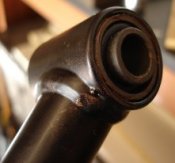
As you can see from the pictures, the top one is the bush itself, to give you a scale i would say its about an inch and a half diameter. The bottom picture is the bush inserted into the wishbone. |
|
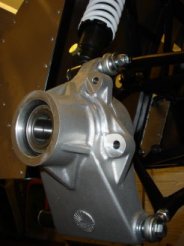
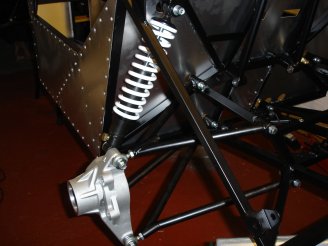
Once all the bushes where in place it was just a case of bolting everything to the chassis. First i attached all the rear wishbones to the chassis mounts. The actual shocks weren't suppossed to be fitted until module 2 but i think that is just because the shocks are only supplied in the moduel 2 bundle. Seen as i had everthing from the start i thought it would make sense to fit them now. So i attached the top of the shock to the chassis mount as you can see in the picture. Then i took out the upright and attached the top to the bottom of the shock as well as to the top wishbone via a ball joint. I had fitted the ball joints prior to mounting them to the chassis as it seemed easier that way. With the bottom connections to the hub it was a little tricky on one side as the stamped serial code inside the upright didn't allow enough room for the washer to fit in, so i needed to file one of the washer edges flat by about 2mm and it then fit fine. These will all be tighteded up at a later date.
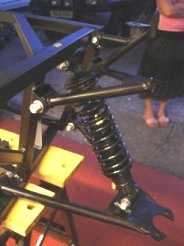
The front suspension was a bit easier as the uprights don't go on until module 2. So it was just a case of connecting the wishbones to the chassis. Again i connected the shocks at this point as it seems to make sense. The second picture below is the headlight mounting attachment, this is a bit fiddley to align up but not too taxing. So that was it all my suspension is now in place.
<9th December 2005>
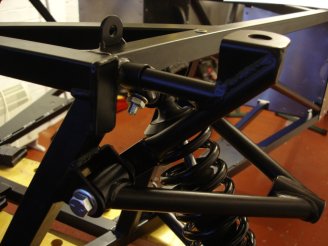
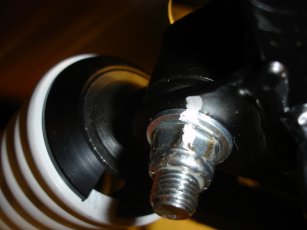
Now everything is basically in place i went round and torque tightened all the suspension bolts. This was in preperation for getting the car on its wheels. As you can see in the picture below, i marked all the torqued bolts with a line of tipex to both let me know its been torque tightened and mark the position so i can see if it loosens at any point
 Copyright ©2012
Kevin Baldwin
Copyright ©2012
Kevin Baldwin


